Using the 3D view
Using the 3D view
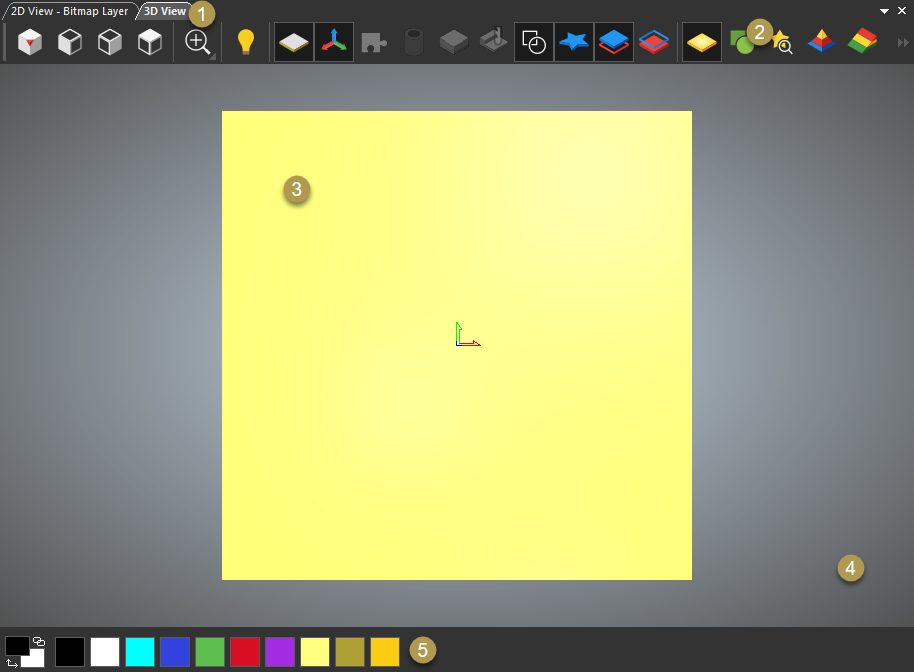
When you select the 3D View tab, the 3D view is displayed. For example:

Area | Description |
The 3D View tab. | |
The 3D View toolbar. | |
The composite relief. | |
The background. | |
The colour Palette. |
When working with an independent model, the 3D view displays:
- the composite relief resulting from all visible relief layers.
- calculated toolpaths.
- the material block.
- toolpath simulations.
- the artwork on the currently active bitmap layer.
- the artwork on all visible vector layers.
- triangle meshes.
When working in a project, the 3D view can also display:
- the root
Assembly.
assemblies.
replica meshes.
gems.
All of the visible items in the Project Tree are shown in the 3D view when a project is first opened.
See Also
Related Articles
Using the 2D view
Using the 2D view When you select the 2D View tab, the 2D view is displayed. For example: Area Description The 2D View tab, which displays the name of the view and the currently active bitmap layer. The 2D View toolbar. The model area. The ...View > New 2D View
View > New 2D View Use this menu option to create a 2D view window. Each new window is named 2D View by default, and numbered sequentially. For example, 2D View:1. The same vector and bitmap artwork is displayed in the new 2D view. The same colour ...Using the Colour Dialog
Using the Colour Dialog Use the Colour dialog to select the colour Carveco uses for the 3D view's lighting, material, and background. To select a colour using the Colour dialog: In the Lights and Material panel, click . The Colour dialog is ...Using the mouse
Using the mouse The way in which your mouse can be used in Carveco often changes according to which design window is displayed and the particular aspect of the model on which you are working. If you own a mouse with a wheel this increases the range ...View > Rename Current View
View > Rename Current View Use this menu option to rename the current 2D view. To rename a 2D view: Select the 2D view window. Select View > Rename Current View. The Edit View Name dialog is displayed: Enter a View name. Click OK to close the dialog ...